Ships Between 4 to 7 Days
Order before 15:00 to expedite shipping
Secure Payments
Secured by OZOW and Paystack
Free Shipping for orders above R3000
We will ship your order for free to anywhere in SA - Our Gift to you!
Order before 15:00 to expedite shipping
Secured by OZOW and Paystack
We will ship your order for free to anywhere in SA - Our Gift to you!

R307.05 Incl, Vat
For
Contact Us
4 - 7 Business Days
Payments are handled via our payment partners, we do not store any credit card details on our website.


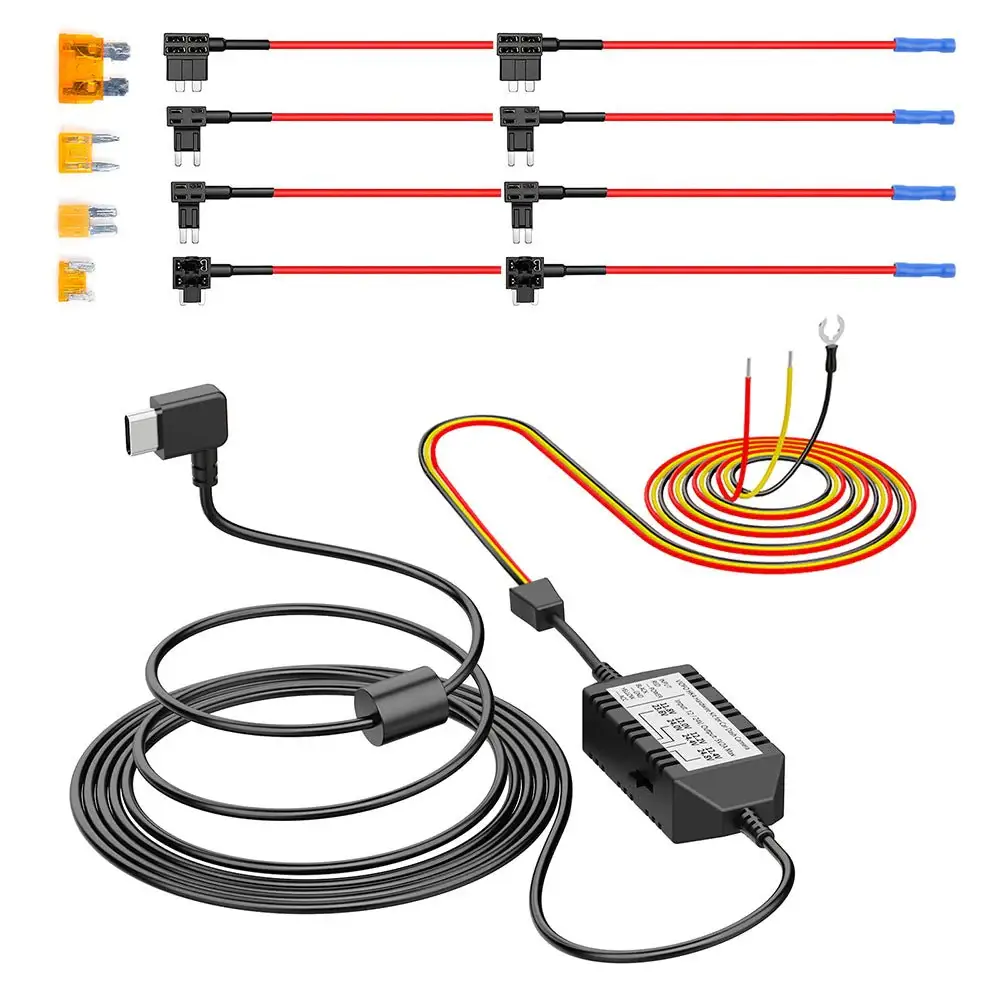
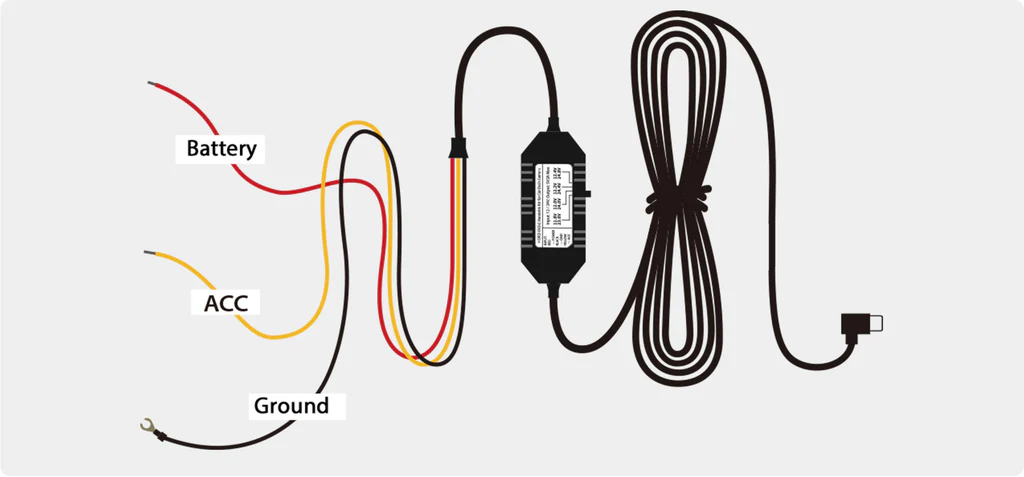
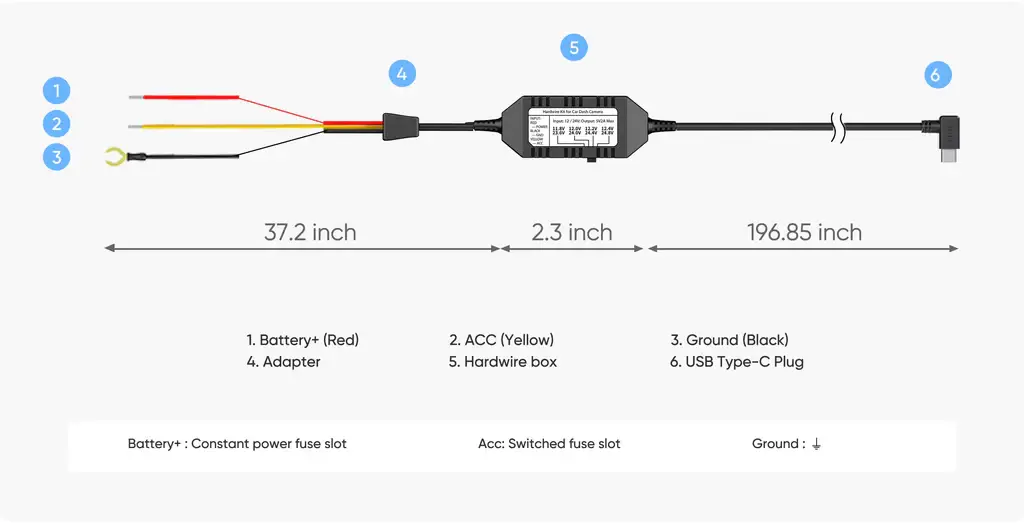
The hardwire kit provides continuous power to your dash cam via the fuse box (VCC, ACC, GND), replacing the need for a cigarette lighter and ensuring seamless coverage from the moment you start driving.

Even when parked, the hardwire kit keeps your dash cam running by tapping into your vehicle’s fuse box. It captures every important moment and automatically powers down before draining your car battery.
With ACC detection, the dash cam seamlessly enters parking mode when the vehicle’s engine is turned off and resumes normal recording once the vehicle is started.
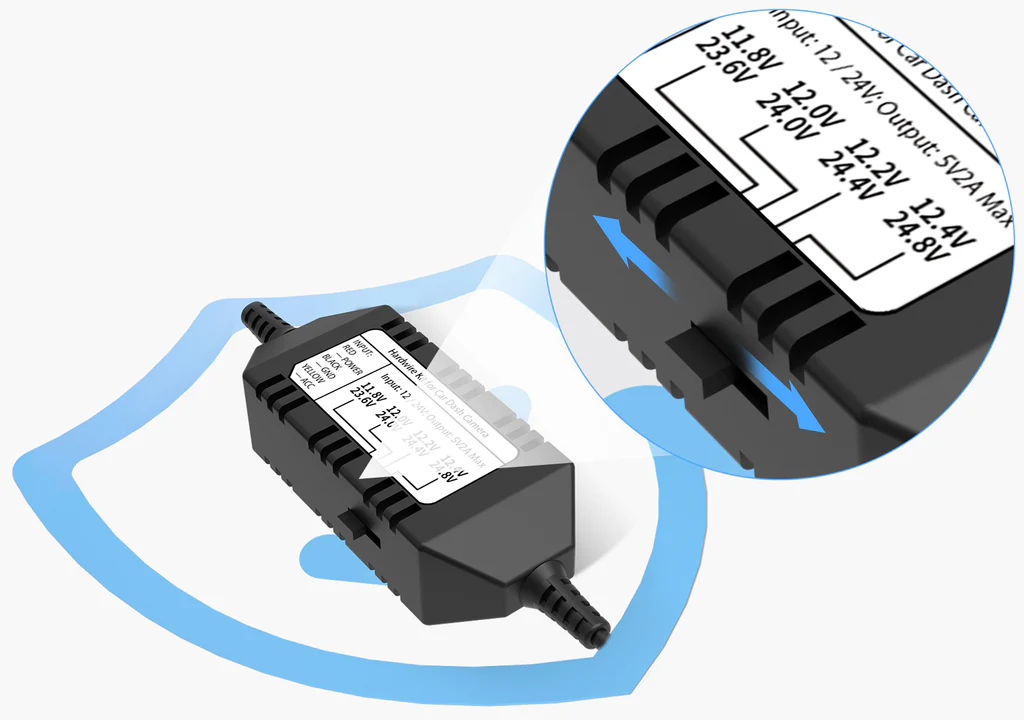
The HK4 Hardwire Cable provides continuous power to your dashcam in parking mode until your car battery voltage drops to the configured threshold.
VIOFO HK4 Hardwire Cable offers 4 voltage cut-off options. When the vehicle’s battery voltage drops to the selected threshold, the HK4 stops supplying power to the dashcam, helping prevent battery discharge.
The HK4 Hardwire Cable connects the camera directly to cars, trucks, buses, SUVs, or big rigs for continuous power. It accepts voltage from any vehicle running on 12–24V.

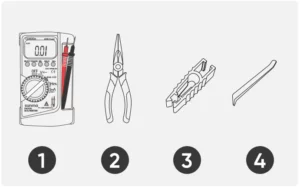
1. Multimeter
2. Needle-nose pliers
3. Fuse puller
4. Trim removal tool

Fuse box locations and types can differ between car models, years, and variants. Refer to the car manual for specific instructions.
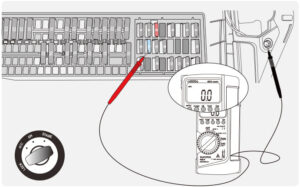
To check fuse locations, use a multimeter on DC voltage after turning off the vehicle. 12V or 24V indicates Battery location, while 0V indicates ACC location.

With the ignition turned on, use the multimeter to test the Battery and ACC fuse positions identified in Step 2. Both should show a voltage of approximately 12V or 24V. If not, repeat Step 2.

Use a fuse puller to remove the fuses from the previously identified Battery and ACC positions.

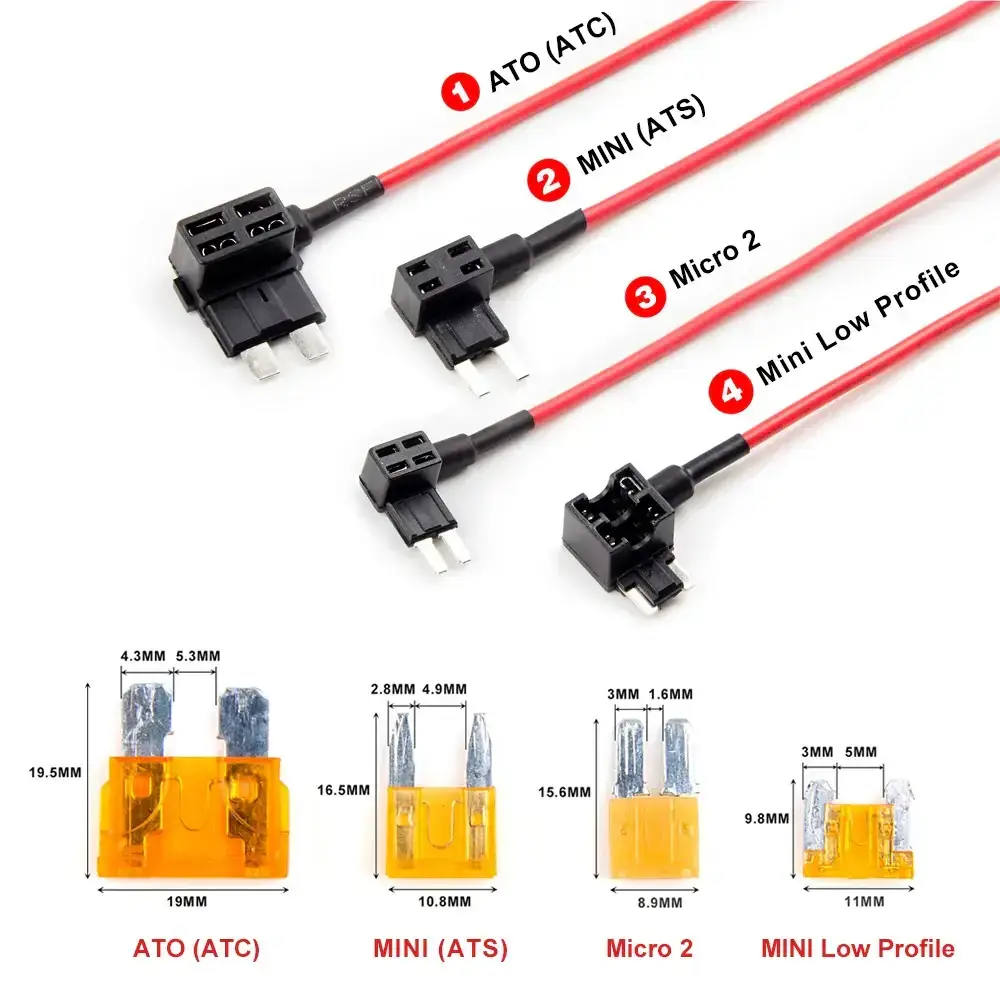
Check the type of the removed fuses and confirm the correct fuse model. Then insert each fuse into the corresponding fuse tap.
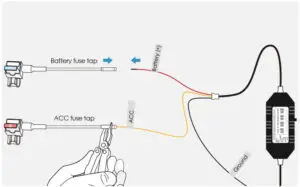
Insert the metal strands of the hardwire cable into the metal tube of the fuse tap, then use needle-nose pliers to crimp the metal tube tightly.

Insert the fuse tap back into the fuse box and secure it properly to ensure a stable connection.

Select a metal screw near the fuse box, loosen the screw, insert the Ground wire’s metal terminal under the screw, and then tighten the screw securely.

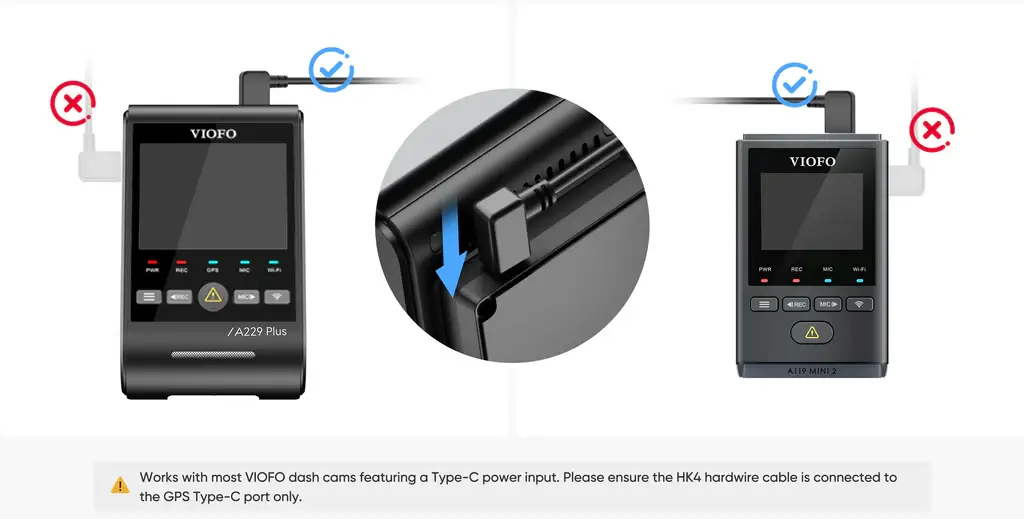
Connect the hardwire cable’s Type-C plug into the power port on the top of the dashcam’s GPS mount.
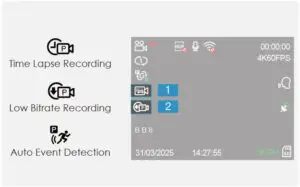
Start the vehicle to power on the dashcam. Enter the dashcam settings menu and enable Parking Mode. The parking mode icon will appear at the position on the left side of the screen.

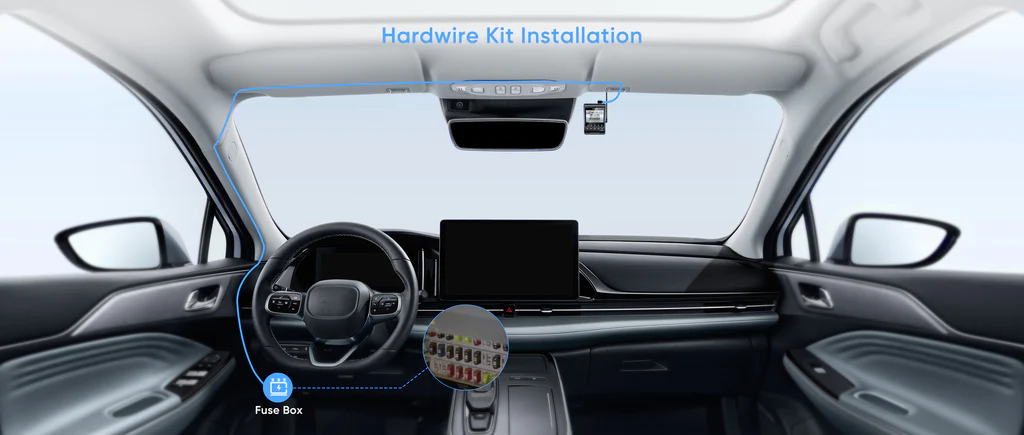
Finally, follow the recommended wiring shown in the diagram below and use the trim removal tool to hide the hardwire cable.
You must be logged in to post a review.




Ryan –
Pretty awesome, easy to install if you are familiar with vehicle electronics.
For any hardwire kit… If you are not familiar with vehicle electronics please get someone that knows what they are doing to install it, and make sure you/ they aren’t tapping into vehicle fuses for critical components
Steven Flattery –
Steven Flattery –
Izak Prinsloo –
Izak Prinsloo –
pieter g. –
The installer took great care during the installation. Lots of explaining and set up my APP and camera.
Robby Richardson –
Robby Richardson –
Constant Benade –
Constant Benade –
Eric S. –
Eric S. –
Tony HABGOOD –
Graham –
Easy to install.
Malan van de Ven –
Perfect for parking surveillance